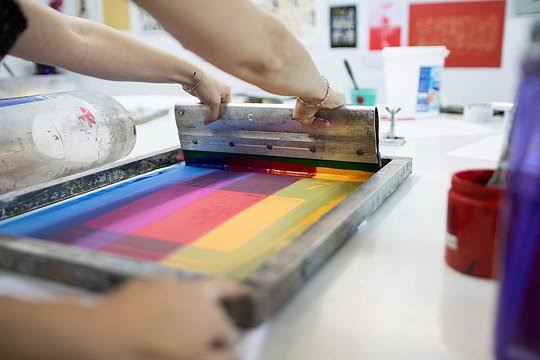
What is Screen Printing?The screen printing procedure is a flexible printmaking technique that allows you to quickly stencil the same design on multiple items such as clothing e.g. DIY T-shirt printing at home or screen printing a poster.Ink is transferred using a synthetic mesh stretched across a frame and a stencil is created by blocking off a negative image of the desired design (ink goes where the open spaces are). Step 1: Create Your Design
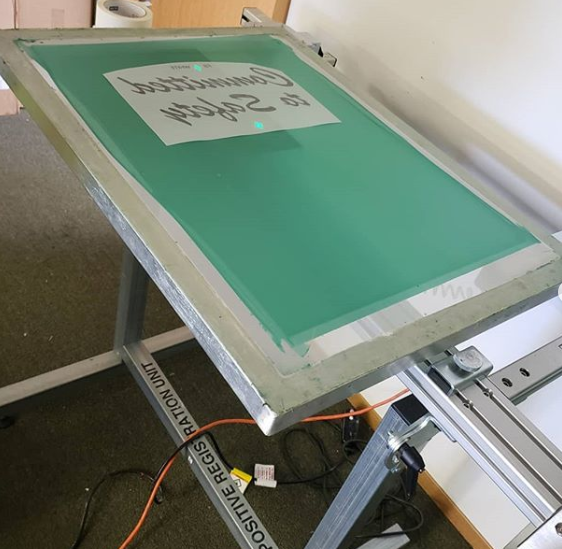
To begin, the computer takes the design they want to create on the finished product, and prints it out onto a transparent acetate film. This will be used to create the stencil. Step 2: Prepare the Frame and Screen Next, the printer is ready to choose a mesh screen to suit the complexity of the design, and the texture of the fabric being printed. Then we used aluminium frames with a mesh screen for each color. First a layer of emulsion is applied to both sides of the mesh screen. We then “transfer” the design via a Computer-to-Screen (CTS) printer to the mesh – again one per color – so we may have several screens for one design. To get the exact color we have used Pantone Matching and Specialty Ink (Puff, Metallic, Clear Gel, Glow in the Dark) . Think of this step as creating stencils for each color that will be layered on top of each other. The void is the hole of the stencil and the hardened emulsion is the paper part of the stencil! That void is where the ink will be pushed through the exposed mesh onto the garment. Step 3: Expose the Image on the Screen The acetate sheet featuring the design is then laid onto the emulsion-coated screen, and the whole thing is exposed to a very bright light. The light is used to hardens the emulsion, so the parts of the screen which are covered by the design remain in liquid form. If the final design is having more than one colour, then a separate screen must be used to apply each layer of ink. To create multi-coloured products, the printer must use his skill to design each stencil, and line them up perfectly to ensure the final design is seamless. Step 4: Clean the Screen, creating the stencil The screen is rinsed with water. The emulsion will be carefully washed away leaving clear mesh to show the imprint of the design. The screen will be dried, then touched up with the emulsion if needs be and re-exposed to toughen the additional emulsion. Step 5: The item is prepared for print The screen is then placed on the printing press. The item or garment being printed is laid down flat onto the printing board, underneath the screen. There are a number of different presses, including manual and automatic styles, but most modern commercial printers will use an automatic rotary carousel printer, as this allows several different screens to work at once. For multicoloured prints, this sort of printer can also be used for separating the colour layers in quick succession. Step 6: The ink is pressed through the screen onto the item The screen is lowered down on the printing board. Ink is added to the top end of the screen, and then Pull your squeegee down the screen firmly at almost a vertical angle which will take the ink with it over your stencil. Repeat once and put the squeegee to the side.This presses the ink through the open areas of the stencil, imprinting the design on the product underneath.If the printer is creating multiple items, then the screen is raised and a new fabric is placed onto the printing board. The process is then repeated. Once all the items have been printed and the stencil has served its purpose, the emulsion is removed using a special washing fluid so the mesh can be reused to create new stencils. Step 7: The product is dried, checked and finished Screen printing ink dries really quick, so in order to use it again in the future, wash the ink off the screen thoroughly to remove any residue.The printed product then passes through a dryer, which 'cures' the ink and creates a smooth, colourfast finish. The final product will be checked and thoroughly washed off and then dried, before being passed on to its new owner.
5 Comments
12/7/2022 12:35:58 am
If you have any issues with the printer installation or any other issues with the printer and computer, I have provided a solution. Please go to adnantech.com to see my website.
Reply
5/5/2023 05:47:13 am
I stumbled onto your blog and read a few post.I like your style of writing we provide.<a href="https://luminousprinting.com.sg/">T shirt printing singapore</a>
Reply
9/13/2023 12:44:10 pm
Thanks for mentioning that screen printing uses computer software to create the finished product. I want to invest in some screen-printed shirts for my family reunion in October. It'd be really nice to find a printing company in my area to purchase from.
Reply
12/6/2023 01:32:34 pm
I like how you pointed out that screen printing can be used to create DIY t-shirts. I want to create some t-shirts for my son's soccer team for them to wear this spring. It might be a good idea for me to hire a professional to make the shirts for me so that they will be high-quality.
Reply
Leave a Reply. |
|
Services |
Company |
|


